• Hello Guest, welcome to the initial stages of our new platform!
    You can find some additional information about where we are in the process of migrating the board and setting up our new software here

    Thank you for being a part of our community!

Rusty 242GT project

.

only problem was it was in a car at the wreckers and as it was a weekend there was no staff on the operate the fork lift to help pull it. ended up pulling in with nothing but hand tools and another TBer, transporting it 100m on a really dodgy trolley and lifting it into the boot of my 244. engine cranes are for pussies :lol:

You could atleast give me some credit for nearly killing myself helping you :-P

That trolley was awesome it held the engine and the tow bar and my tool bag all wile refusing to be pulled in any direction but backwards
 
I can see those fenders are rolled quite a bit, what method did you use? Real roller or diy option?

DIY with a hammer and a curved panel beating dolly. Started off working my way from one end to the other with the hammer, gradually bending it. Focusing the hammer mainly at the spot welds as they are the hardest bit to bend. Repeating until it didn't want to bend any further. I then used the curved dolly to even it back out into a nice curve because it tended to buckle out of shape at the spot welds.

You could atleast give me some credit for nearly killing myself helping you :-P

That trolley was awesome it held the engine and the tow bar and my tool bag all wile refusing to be pulled in any direction but backwards

really should have got some pics, the whole process was quite comical
 
Slowly but surely progress continues

Section at rear of right bonnet hinge welded back in
DSC02668.jpg


Covering section welded back in
DSC02670.jpg


One front guard is now completely done, the other will be finished by the end of the week. In progress shot.
DSC02698.jpg


I needed an engine stand so I decided to build one because I wanted it to be heavy duty and very stable. Haven't actually tested it yet, may be adjusted further yet.
DSC02699.jpg


Brought some long rods :oogle:
158mm.jpg
 
Subscribed.

I have *almost* the same sort of weldathlon ahead of me for my '77 245 project car. Inspiring to read your blog!
 
Last edited:
Both front guards are done
IMAG0116.jpg


IMAG0118.jpg


Then I moved on to the panel between the headlights and bumper. Ended up stripping it to completely bare steel as there was a lot of minor surface rust
IMAG0108.jpg


Etch primer applied
IMAG0107.jpg


Welded up the holes for headlight wipers. There is a bunch of extra holes someone drilled along the trim line but as they are completely hidden I couldn't justify the effort to weld them up.
IMAG0105.jpg


Primed it, sanded it down with a guide coat and primed again
IMAG0157.jpg


IMAG0158.jpg


I revisited the right hand rear quarter, first time around I didnt smooth it out along the spot welds, but given the attention to detail I've now done elsewhere, it seemed silly not to make it perfect. Filled applied but not sanded in this pic. Adjustments have been finished and the area primed.
IMAG0144.jpg


still some work left to do at the back corned but need to refit to boot lid to get the shape right.
IMAG0145.jpg


sanded around the boot lid seal area. Massive pain to get multiple layers of paint out of the little vents. Still needs a little more work as the painted reacted in a couple spots.
IMAG0152.jpg


IMAG0154.jpg


Started work on the boot lid. Sanded to bare metal along the trim line and around where the spoiler had been fitted. Now ready to be welded up.
IMAG0155.jpg


I noticed there was a fair amount of play in the door hinges to decided to pull one apart to see if it was worth fixing. It would definitely be possible to drill it out for a larger pin, but having now realised the hinges appear to be the same as on the rear doors of a 244 I wont bother. I have some from a 244 that are perfect.
IMAG0142.jpg


Brought myself a sand blasting cabinet for $60 second hand. Should be nice for cleaning up parts for the engine bay.
IMAG0163.jpg


Also scored me some Penta cams on Ebay. I should get them in the next couple days. Not sure if I will run them or not yet, but the price was pretty good and I wouldn't mind having the option. Its pretty hard to find proper reviews on their performance and stock 16v cams are known to be good for big power.
 
Last edited:
Made some progress on the bootlid, holes all welded up and filled. Filled a couple dents, now just a tiny amount more sanding to do and the top side is ready for primer. Made a start on the bottom side, as it hasn't been resprayed before all I'm going to do it give it a quick sand and it too will be ready for primer.
IMAG0200.jpg


Yay penta cams, also got an extra 16V cam gear for the intermediate shaft.
IMAG0211.jpg


Also been doing some more shopping on ebay :-D

600x300x100 intercooler with 3" inlet/outlet. Probably slightly overkill but the price was good.
IMAG0209.jpg


Misc pipes and couplers that came with the intercooler, not sure if I will use any of it yet.
IMAG0205.jpg


Really really nice catch can, both the top and bottom are machined and threaded on, its about 190mm tall, 100mm round. It will get bigger and potentially more hose barbs depending how I end up setting it up. Also a bunch of 3" clamps + couplers. The couplers are plastic crap that I wont use but for the price I paid it was worth it for the clamps alone.
IMAG0216.jpg
 
I've been steadily making progress, just haven't got around to updating this thread...

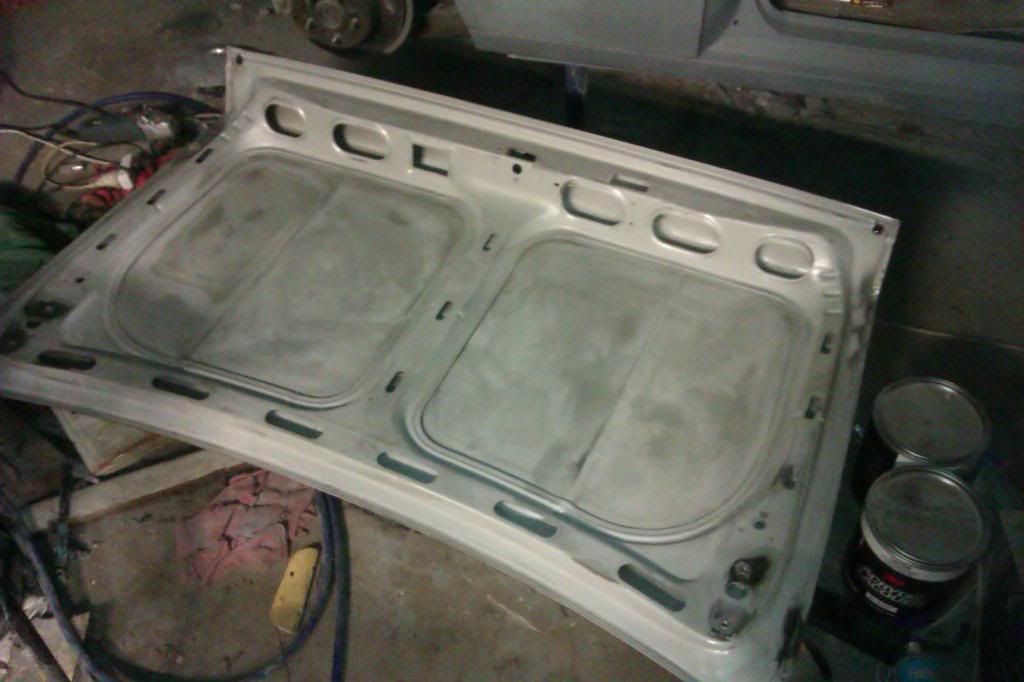
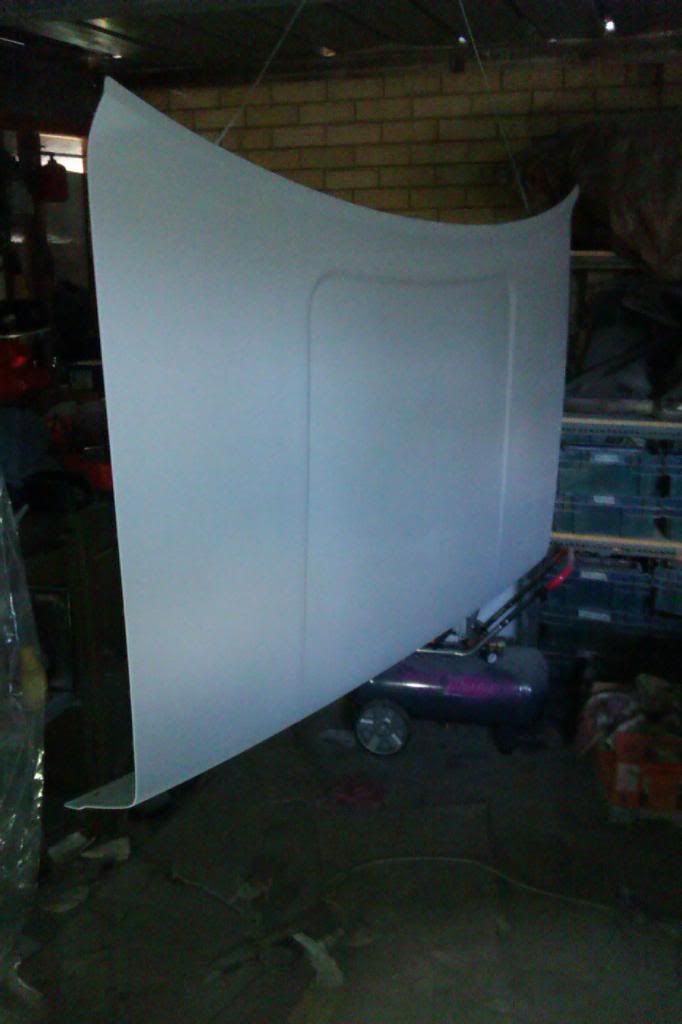
Bootlid is all done, went really well first time around and didn't have to go back making any minor corrections. The underside only needed treatment of surface rust at the hinges, tiny bit of filling around where I welded up the spoiler holes and a quick sand.
IMAG0219_zps27aa0f17.jpg


IMAG0225_zps4703e299.jpg


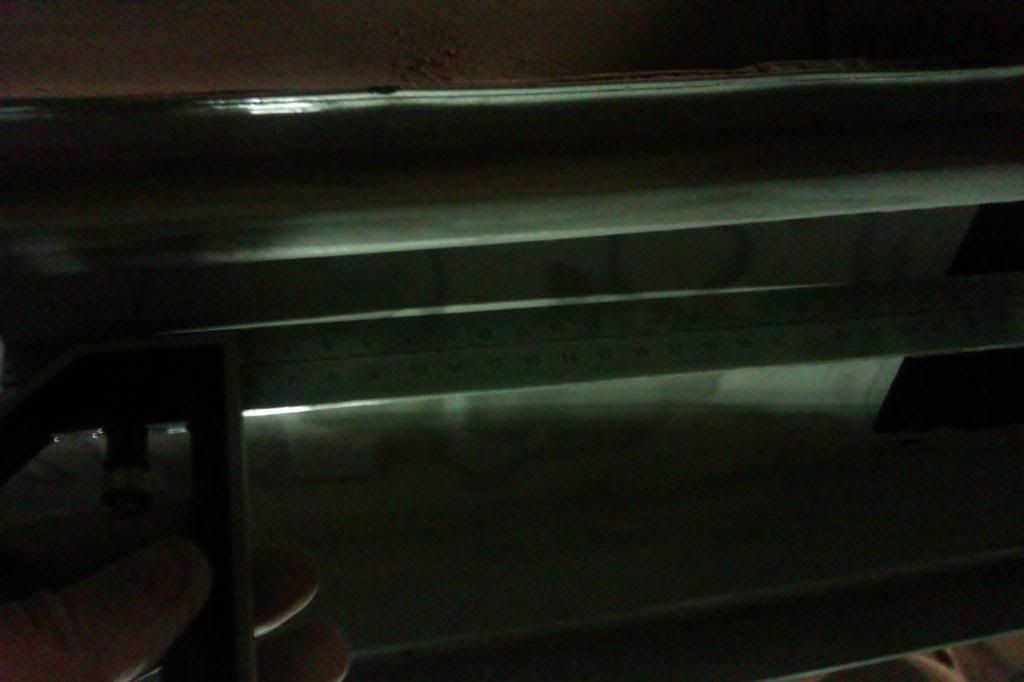
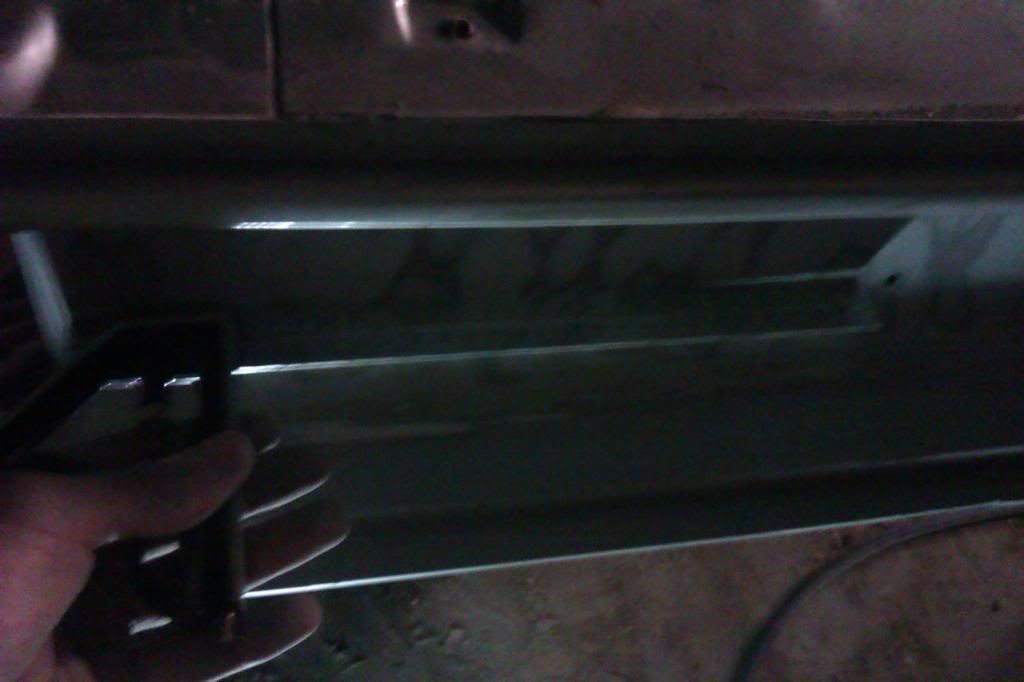
Discovered I really should have just replaced the rear panel as a whole... wonky as anything and I have had a lot of trouble getting the lip where I welded the new section in right.
IMAG0235_zpsb0667391.jpg


IMAG0237_zpsf800573a.jpg


There was no way I could pull the right hand side straight so I ended up bending the left hand side in the corresponding amount then correcting all the other slightly more minor bends with filler. Somehow completely forgot to take any in progress shots... it took awhile but its finally right.

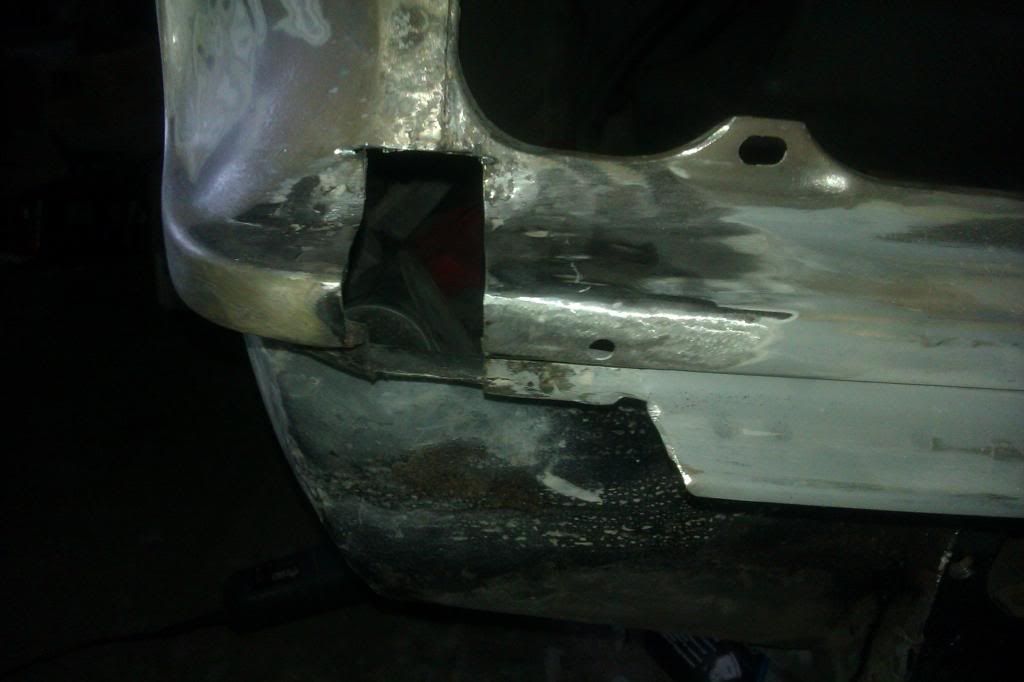
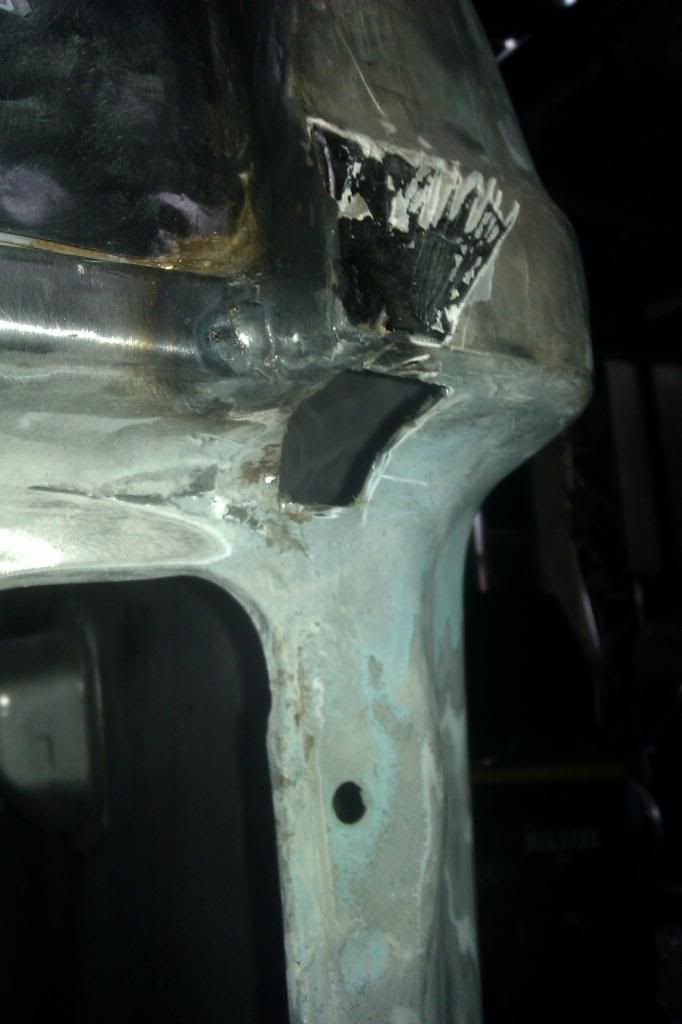
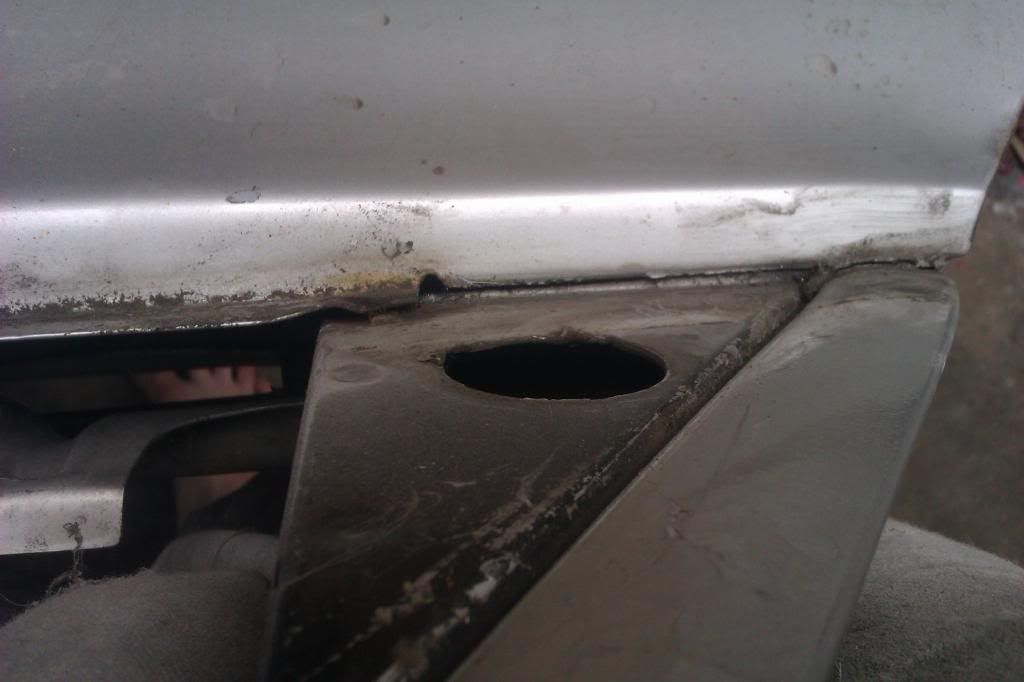
I was cleaning up my repairs from the inside and found there was significant rust between the overlapping pieces at this joint so I cut it out and butt welded in a section to make it one nice continuous piece. All ground down and filled now, still need to finish sanding down and get it into shape though.

IMAG0416_zpsf2a4777c.jpg


IMAG0417_zps84125c3d.jpg


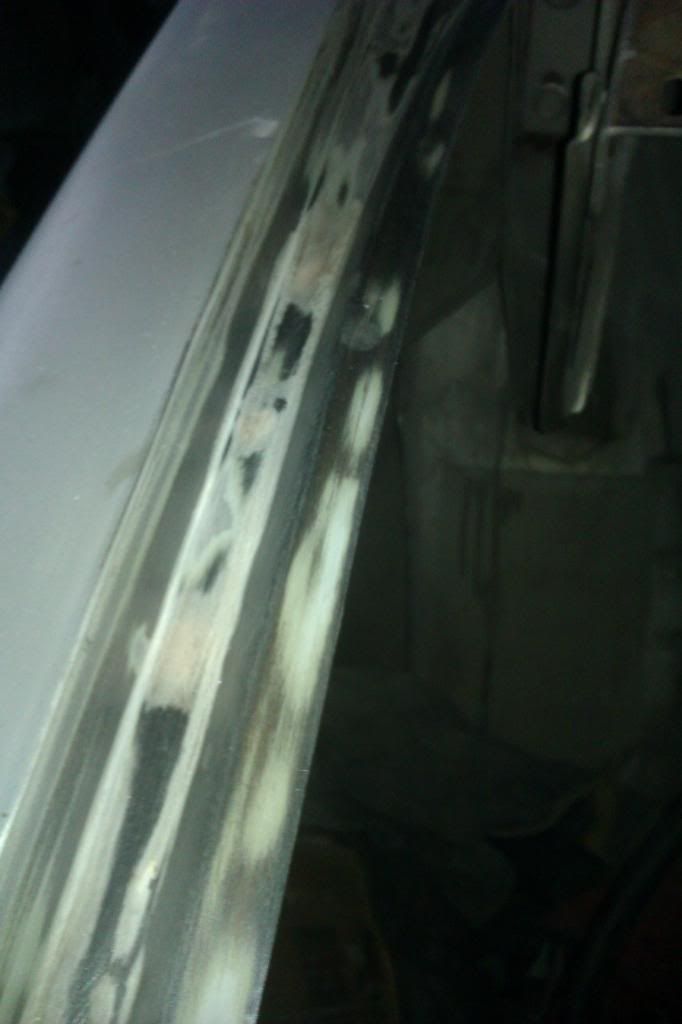
Filled in the spot welds around the boot lid seal area.
IMAG0454_zpsd794816e.jpg


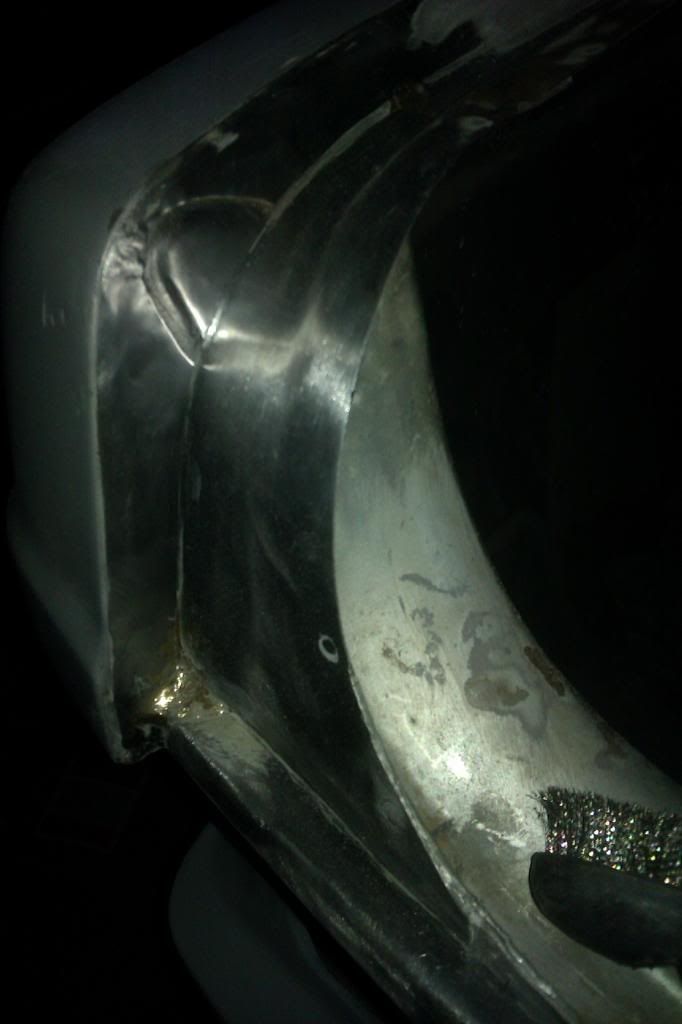
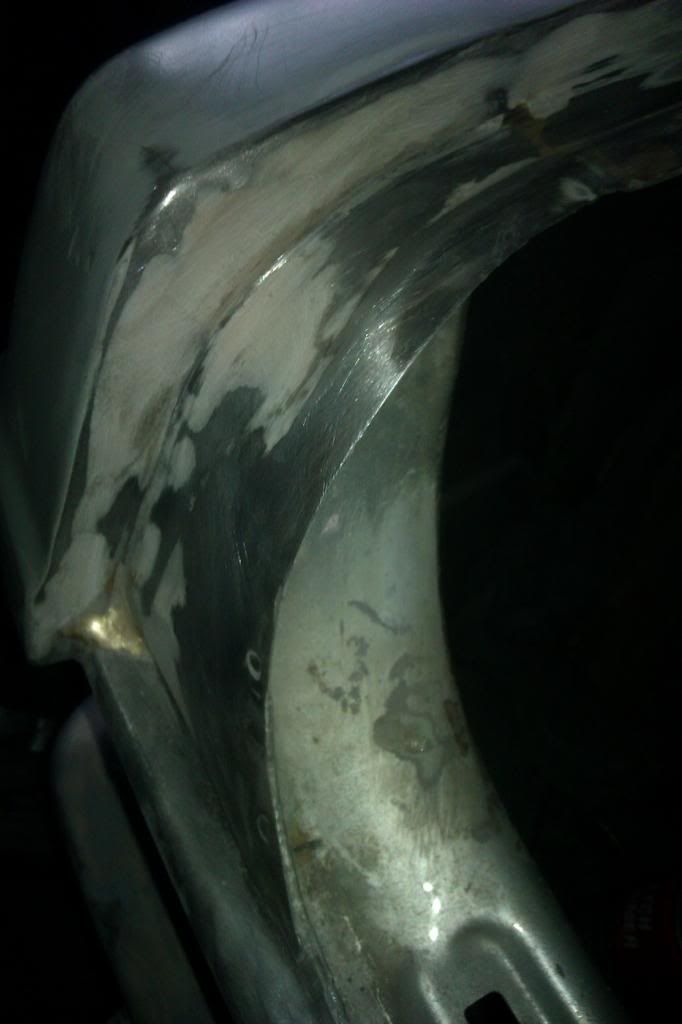
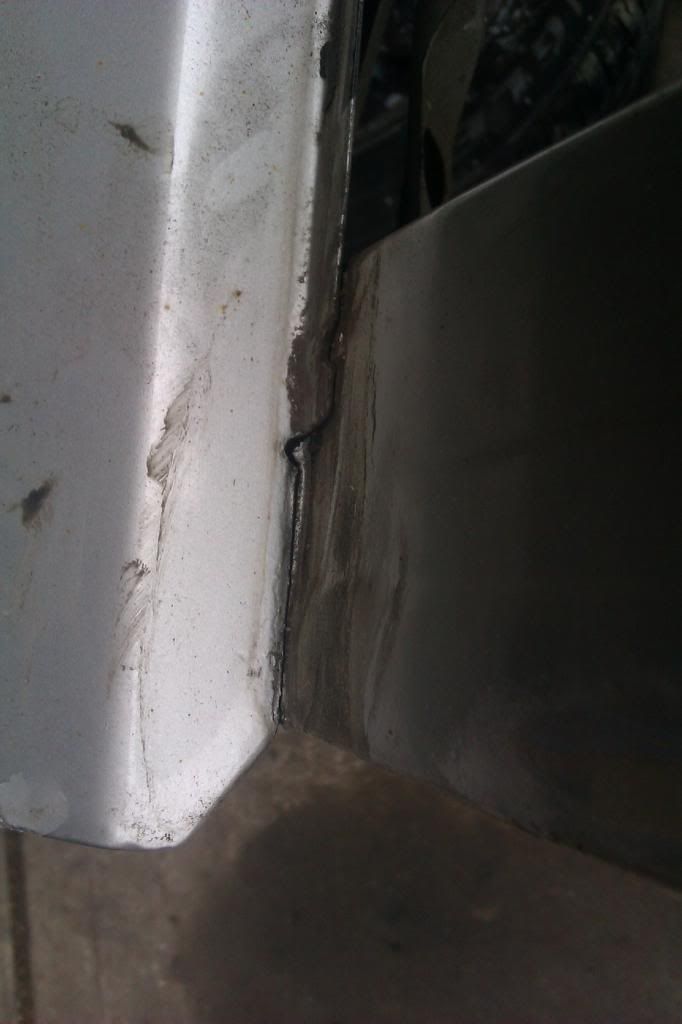
Decided I didn't like the ugly joint at the corner of the boot lid so I filled it in after some minor corrections with a hammer. Probably shouldn't be any significant flex in this location but just to be cautious I didn't fill the seam at the base of the 90 degree bend with filler, it will get seam sealer.

IMAG0440_zps45e242e6.jpg


IMAG0457_zps45e6e36f.jpg


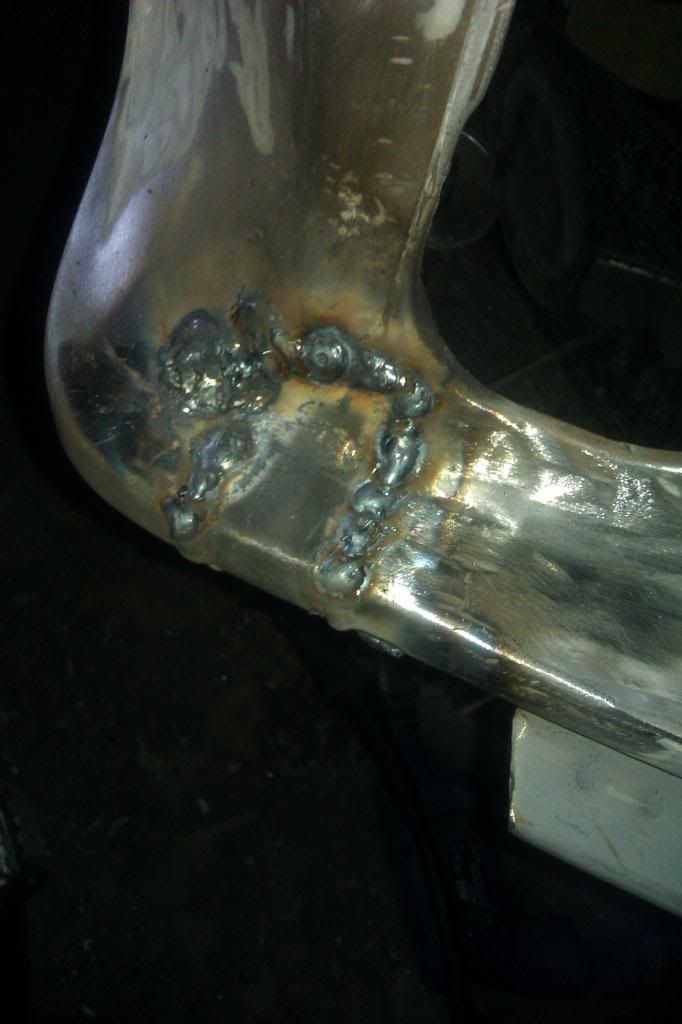
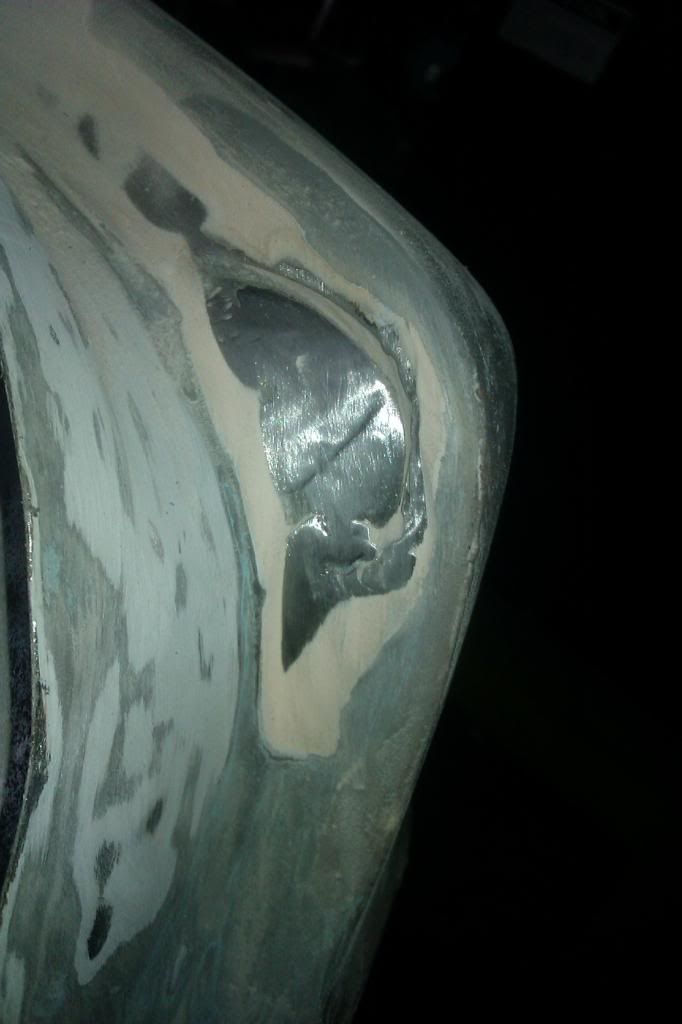
Bit of a problem when I went to do the same thing on the other corner.... yep 5mm thick of body filler hiding a bit of rust and a lazy repair job in the past.

IMAG0441_zps7aae88ce.jpg


Bit of rust in the overlapping seam so I trimmed it back like so

IMAG0448_zpsc70140b4.jpg


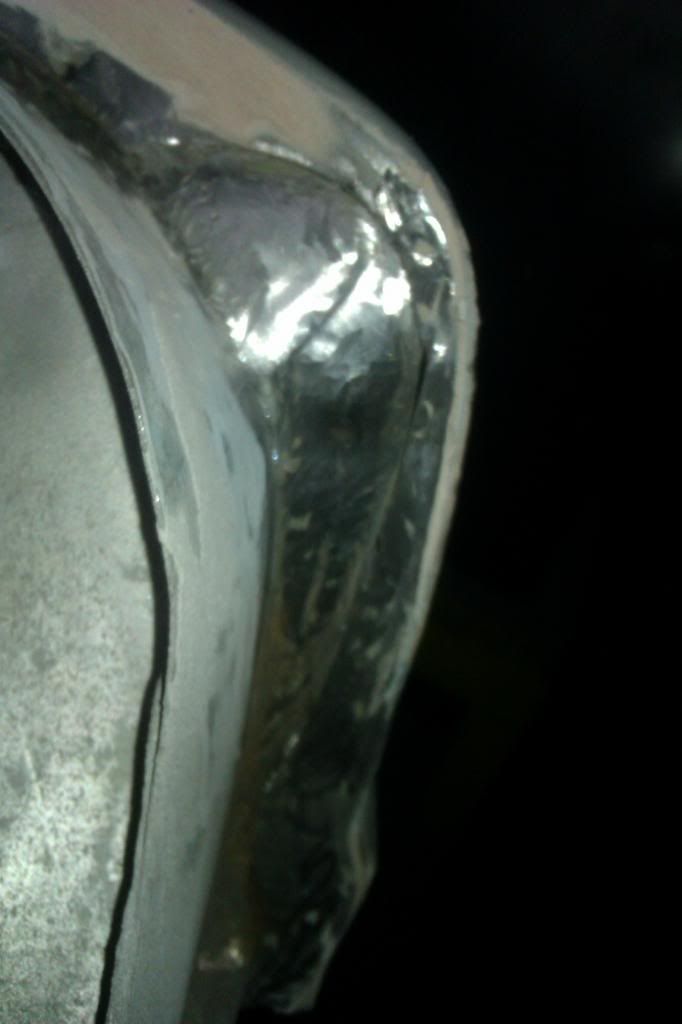
Then butt welded the joint good and proper. Turned out really well and will only require minor filling. Of course the heat from this buggered the filling I had previously done on the outside of this corner :grrr:

IMAG0449_zpsb27a4e04.jpg


Also found another rusty seam which I cut out and patched

IMAG0452_zps3b8a817d.jpg


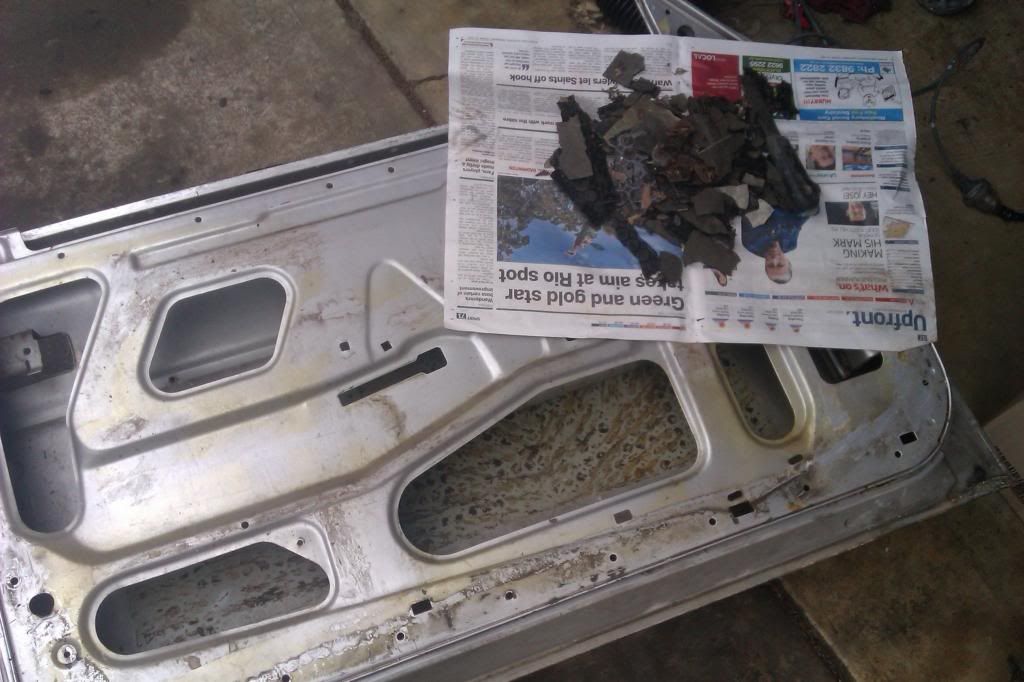
Left hand door completely stripped including sound deadening (1 more door to do and I can weigh the box of everything I have removed)

IMAG0280_zps9b34989a.jpg


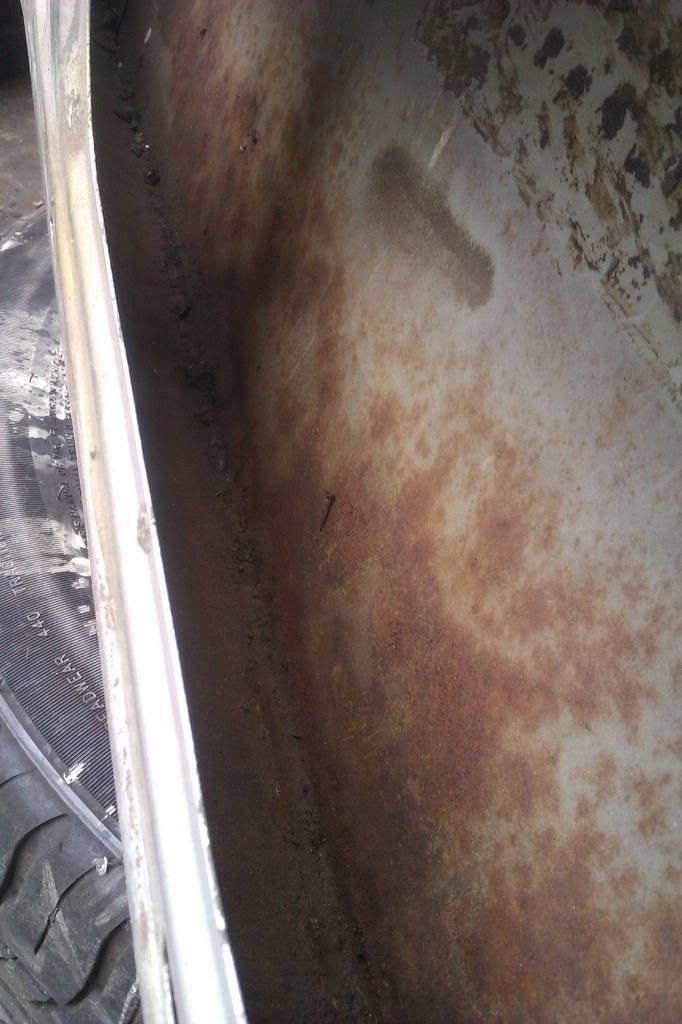
Bit of surface rust in the door but nothing of any significance. Wire brushed it off good then painted it with rust converter/primer.
IMAG0284_zpsf3b621ca.jpg


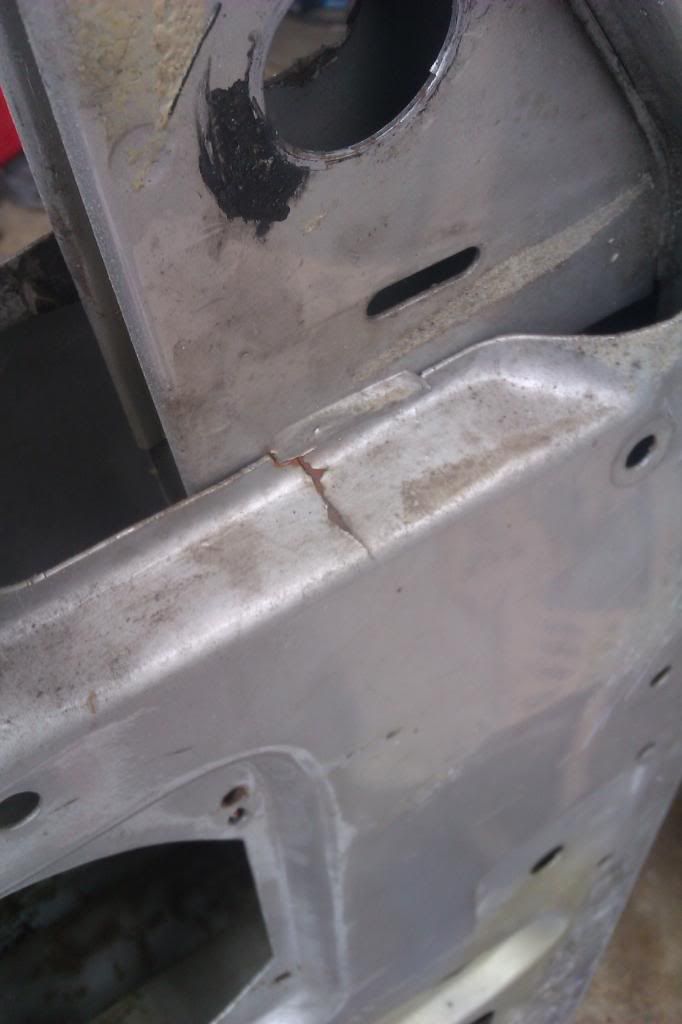
There were a number of cracks in the door which have since been welded up

IMAG0285_zps83591365.jpg


IMAG0290_zps313a14b7.jpg


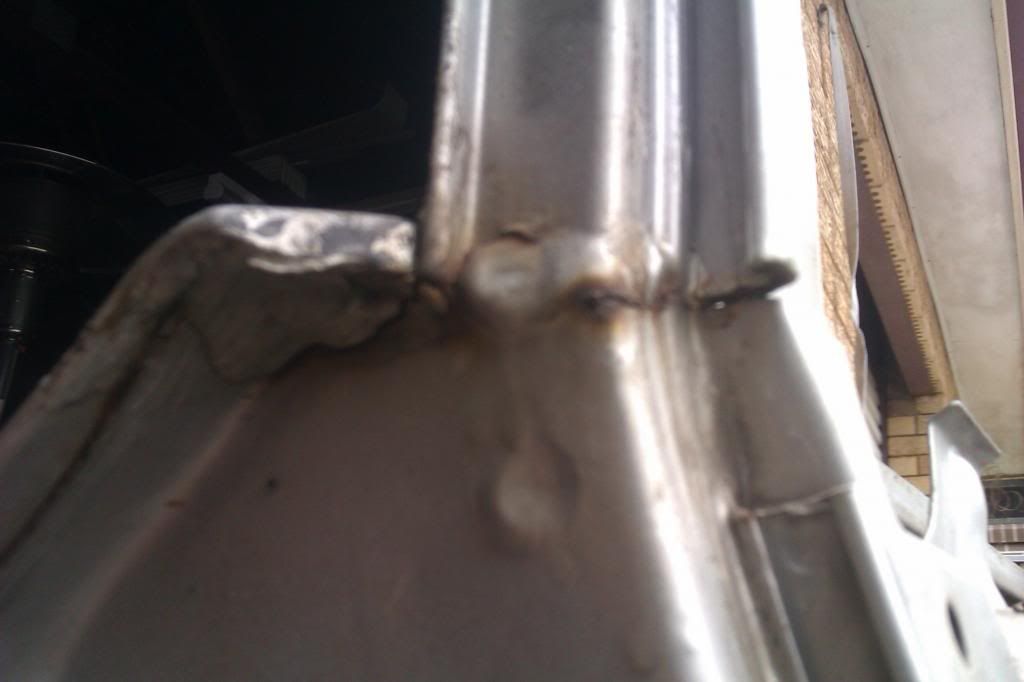
Top of door skin was completely loose and had to be welded back on

IMAG0289_zpsbbe24275.jpg


IMAG0288_zps38569547.jpg


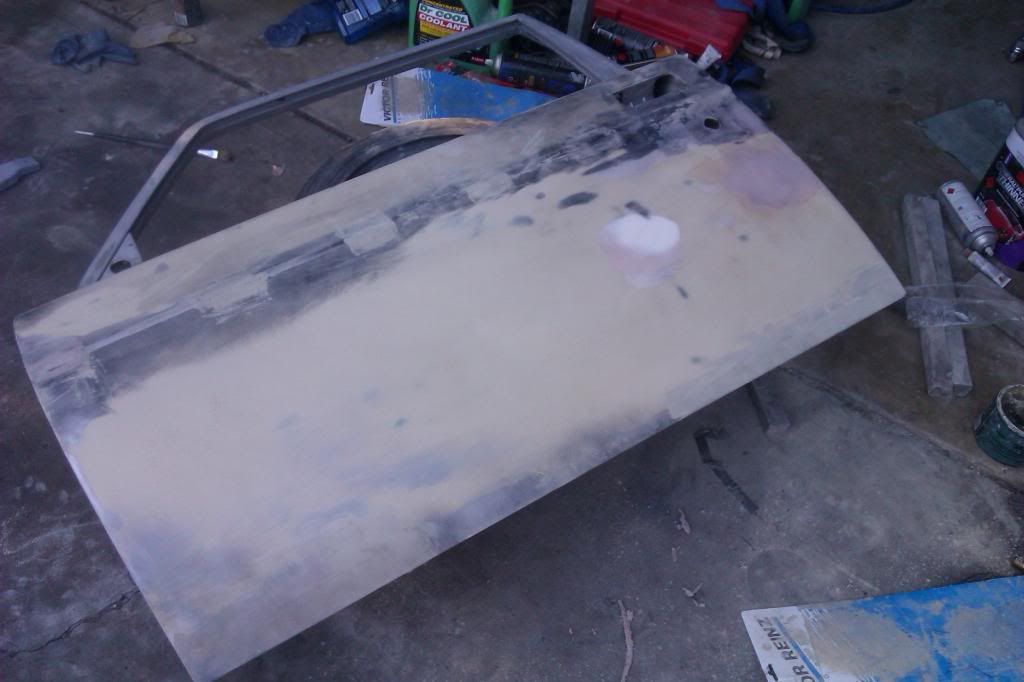
Door sanded back, trim holes welded and part way through filling. You can see my filling at the very bottom of the door and along the trim holes. All the rest of the filler and high build primer was existing. Generally speaking the work that has been done is pretty good though so I am just doing minor corrections to make it perfect.

IMAG0503_zps4a8ceaf5.jpg
 
Now for some slightly more fun stuff... intercooler fitting time :-D

Picked up a pair of headlight supports and promptly cut them up. Not sure if the original round headlight ones work with ecodes or not but regardless, they were spot welded to the original low piece that I'm not using and I want to keep them for if/when I fix up my rolling shell 242DL.

Its a tight squeeze but I have mounted it way forward and I think I can keep the radiator in the stock NA position. I wanted to maximise the space in the engine bay to make it easier to work on. Worst case I might need to convert the car to have the bonnet release on the left hand side of the car instead of the right because that makes the bonnet catch mechanism slightly smaller.

I will also probably need to come up with a brace to give the headlight mounts some of their strength back. Im thinking of possibly integrating a brace into a cover that hides the ugly back of the headlight.

IMAG0431_zps7de76c0f.jpg


IMAG0433_zpsb69329e6.jpg


IMAG0432_zpsec6857e2.jpg


The original slam panel support was completely rusted out and may or may not have been an issue with the intercooler. As a result I got a later style slam panel support that doesnt loop down to the front cross member. Stripped to bare steal to get rid of some rust, then etch primed, then primed.

IMAG0501_zps3105b8a4.jpg


IMAG0502_zps28e9e179.jpg


Scored a brand new genuine volvo bonnet release cable on ebay. It appears to be the same for LHD and RHD so it shouldn't matter which route I end up taking.

IMAG0468_zps922a96ae.jpg
 
:-( the novelty of laying down primer doesnt last long. i just want to hurry up and lay down some colour.

i havent even started the undercoating... im not looking forward to it. damn i need me to find a girl to do it for me :lol:


ive been playing around with some colour ideas:
yellow with blue stripes -
49452-938052YELLOW2.jpg


orange with grey stripes - the orange looks pretty awesome but grey stripes mean i have blue saas bucket seats and blue silicone radiator hoses to sell (which might not work with vertical engine anyway)...
49452-938052YELLOW3.jpg


leaning towards the yellow at the moment. ive got a set of yellow doors from a 244 i scrapped so i think ill try and get some vinyl offcuts to see what it will look like in reality. grey stripes is also a possibility with the yellow.

Looking good mate. Just keep it a single colour, like a dark metallic
 
i can has genuine BBS rims :-D 16x7.5" et18 5x10⁸. i wanted to get 17" rims but these came up at a good price and ticked all the other boxes, the only other option i was looking at was new BBS knock-offs at almost triple what i paid for these. They currently have 225/45R16 tyres on them.

DSC02490.jpg
Question for you... What are you using to secure these to the car? Do you know what they are off of? Do they have a massive, 18mm opening for the studs to go through like the set of probably the same wheels that I'm dealing with? I'm worried about normal lug nuts not engaging enough threads without a shank, IN ADDITION to there not being enough mating surface between the nuts and the wheels! I'm wondering if your set is the same way and if you've figured out what sort of nuts will work best with them.
 
Question for you... What are you using to secure these to the car? Do you know what they are off of? Do they have a massive, 18mm opening for the studs to go through like the set of probably the same wheels that I'm dealing with? I'm worried about normal lug nuts not engaging enough threads without a shank, IN ADDITION to there not being enough mating surface between the nuts and the wheels! I'm wondering if your set is the same way and if you've figured out what sort of nuts will work best with them.

Not sure what they were originally off but they were previously fitted to a 240 just using standard wheel nuts. As you say though, the opening for the wheel nuts is huge, not sure on measurement but 18mm sounds about right. The nut seats in the wheels are currently pretty chewed up because of the inappropriate nuts previously used.

Current plan is to get the nut seats machined flat and run shank style lug nuts like these http://www.summitracing.com/parts/wld-601-1456/overview/

With a shank of 0.687" aka 17.44mm, they should fit nice in a 18mm opening.
 
I just ordered these. The shank isn't as long as it could be and the diameter of it isn't much, but the mating surface is nice and large and should center the wheels fine, I expect. I'd prefer a name brand, but haven't found one that has the bulge style mating surface, AND the shank.

http://www.ebay.com/itm/250709761525
 
Back
Top