shellshock
Below, is a photo of Clay
- Joined
- Jun 29, 2006
- Location
- Tulsa Oklahoma
Alot of people have been having questions about this, including myself. OldSchoolEuro helped me out in the selection of LEDs, and other than that, all was straight foward! Super easy
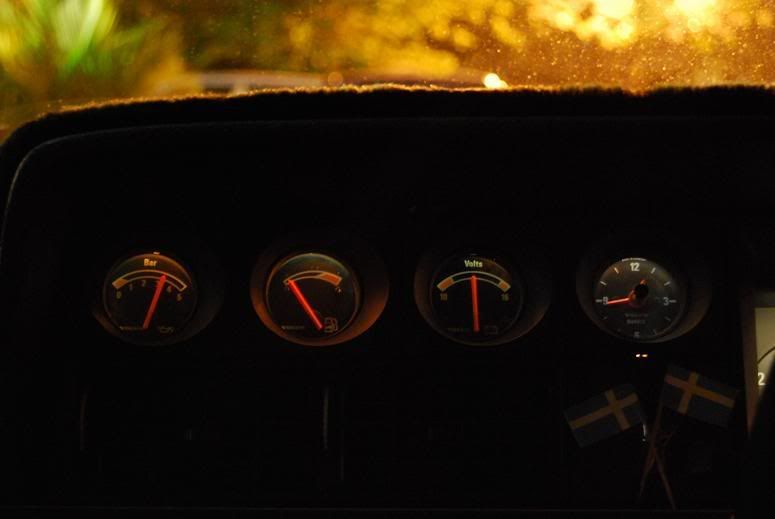
Now his does not cover the Instrument panel, as they take halogen bulbs and would take some work to get LED's to function in there as well as the halogen bulb would.
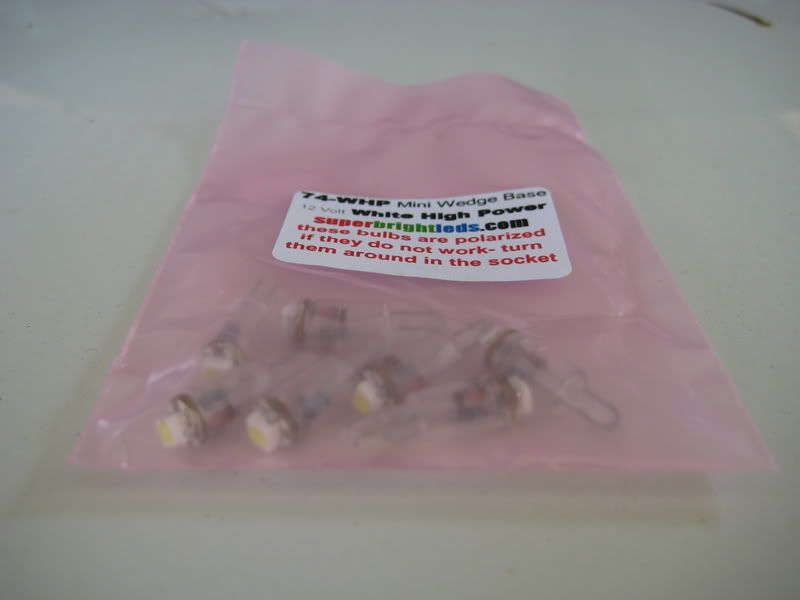
First off I ordered
74-xHP for above the switches
two 74-xHP for the HVAC controls
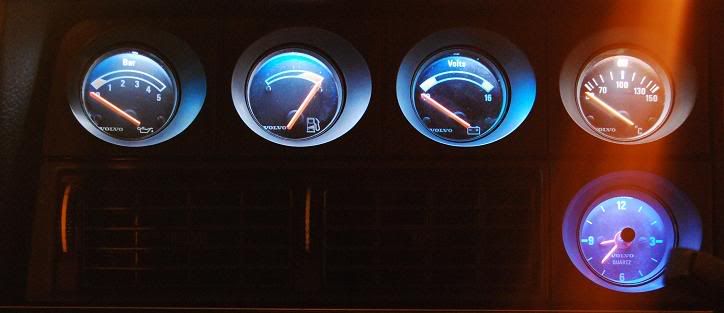
Four 74-xHP for my small VDO gauges
http://www.superbrightleds.com/cgi-...t=CAR&keywords=&cart_id=4703055.23874&next=50
74-xHP Wedge Base
13th item down the list
Now that the hard part is over, It's time for installation. All you are doing is pulling the old bulbs out of the plastic holder and installin the LEDs, then re-inserting them back into their hole.
Old bulb and the holder that I pulled it out of:

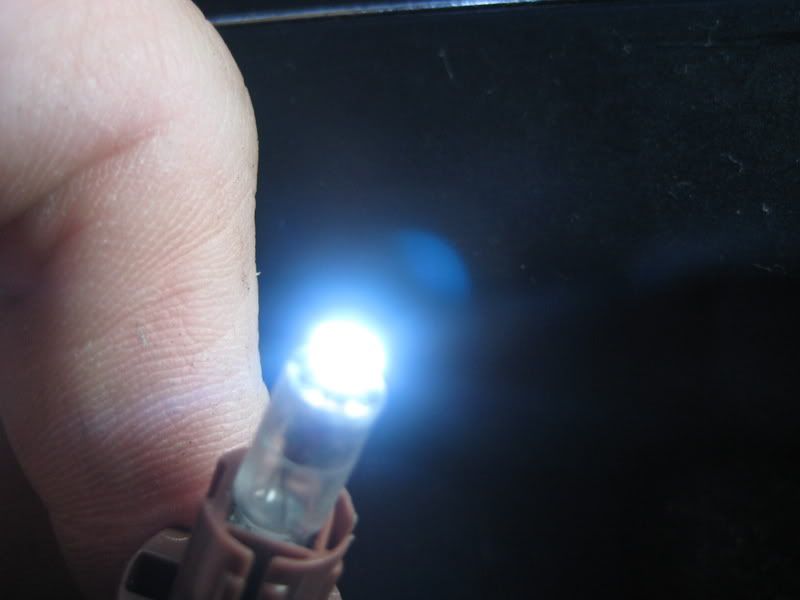
New LED inserted in the holder:

While I had everything apart, I replaced a burnt out halogen bulb in my cluster
Old bulb:
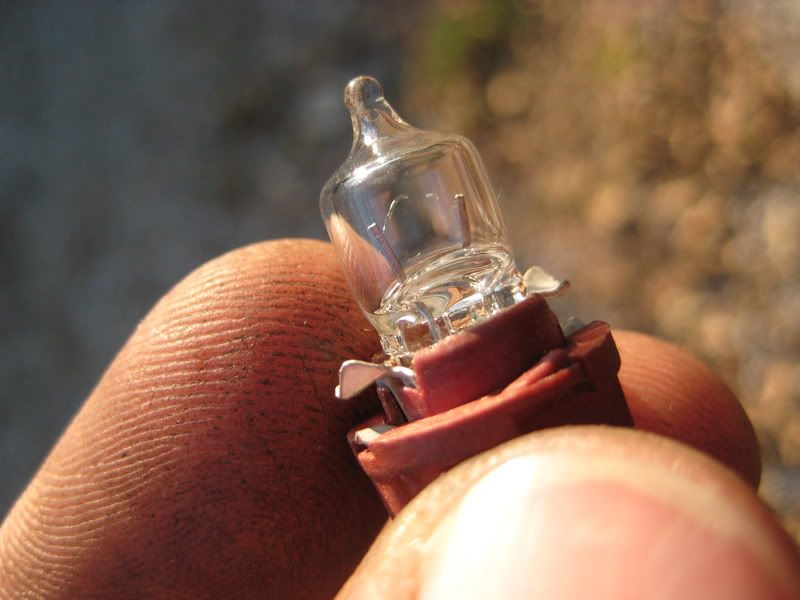
New bulb. Be careful not to touch the new bulb's lens surface. It reduces the lifespan.
Now It's time to start on the lower portion of the dash to replace the little ambient light above the switches and the lights in the HVAC controls
Start by removing the two screws on top:
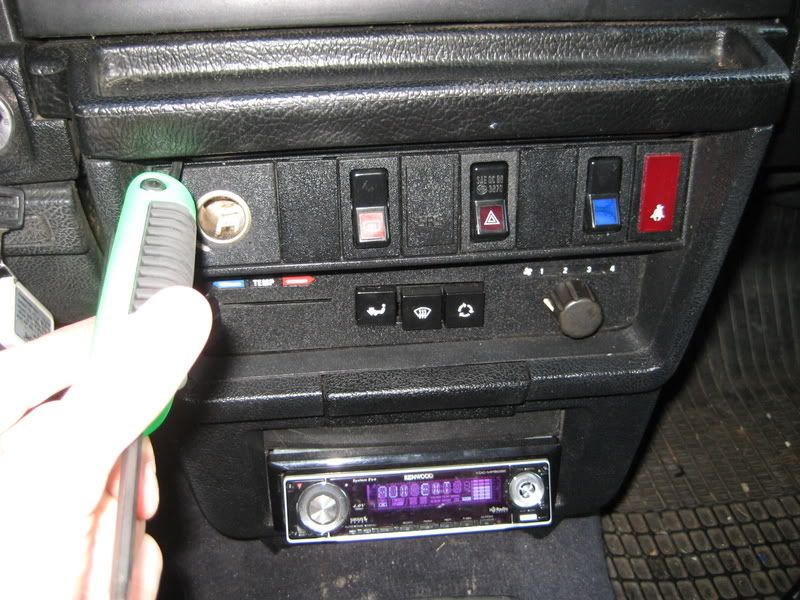
You will also have two torx screws on the side of the panel. You cant miss them")
Pull back the panel and find the bulb holder above the switches.

Replace:
Do the same on the HVAC controls. There is two on each side.
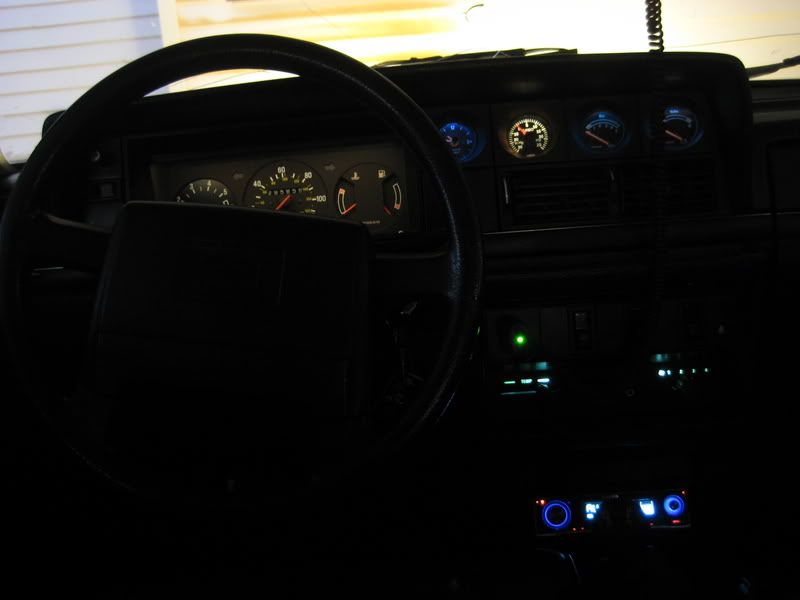
Reassamble and admire!
^sorry about the crappy pictures. I just had my little Canon ELPH out in the car with me
Now his does not cover the Instrument panel, as they take halogen bulbs and would take some work to get LED's to function in there as well as the halogen bulb would.
First off I ordered
74-xHP for above the switches
two 74-xHP for the HVAC controls
Four 74-xHP for my small VDO gauges
http://www.superbrightleds.com/cgi-...t=CAR&keywords=&cart_id=4703055.23874&next=50
74-xHP Wedge Base
13th item down the list
Now that the hard part is over, It's time for installation. All you are doing is pulling the old bulbs out of the plastic holder and installin the LEDs, then re-inserting them back into their hole.
Old bulb and the holder that I pulled it out of:
New LED inserted in the holder:
While I had everything apart, I replaced a burnt out halogen bulb in my cluster
Old bulb:
New bulb. Be careful not to touch the new bulb's lens surface. It reduces the lifespan.
Now It's time to start on the lower portion of the dash to replace the little ambient light above the switches and the lights in the HVAC controls
Start by removing the two screws on top:
You will also have two torx screws on the side of the panel. You cant miss them
Pull back the panel and find the bulb holder above the switches.
Replace:
Do the same on the HVAC controls. There is two on each side.
Reassamble and admire!
^sorry about the crappy pictures. I just had my little Canon ELPH out in the car with me